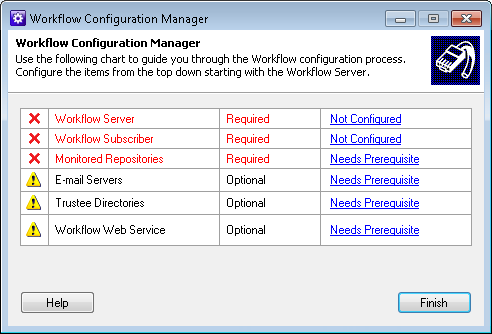
- Open the Workflow Configuration Manager under Start, All Programs, Laserfiche, Workflow.
- Click
 Not Configured next to Workflow Server.
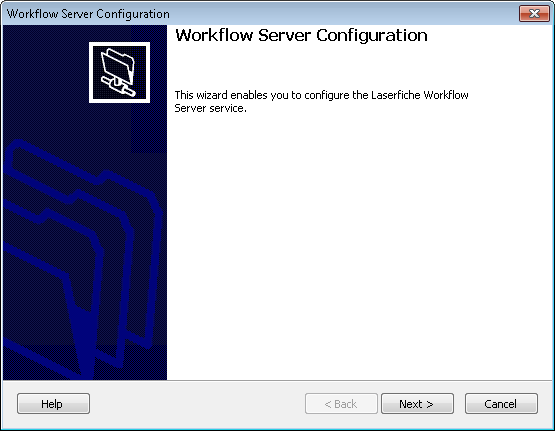
- The Workflow Server Configuration Wizard will open. Click Next in the opening step.
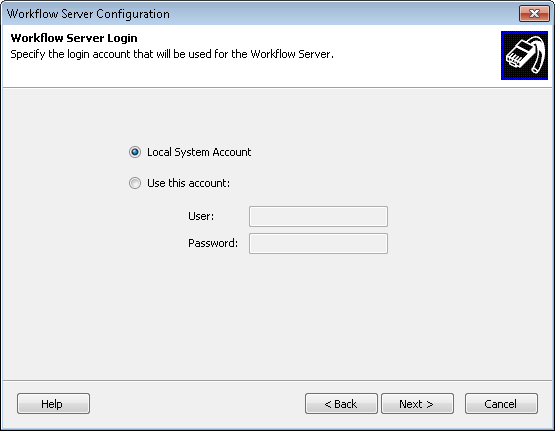
- In the Workflow Server Login step, specify an account for the Workflow Server to use. Only select Local System Account if the SQL Server is on the same machine as the Workflow Server or if you will be using SQL authentication instead of Windows authentication to log in to SQL. If the SQL Server is on a different machine, select Use this account and enter a domain account with sufficient rights to access and modify the Workflow Server. Click Next.
Note: If you are using a Windows user, the user you specify as the login account must have Windows power user privileges to be able to create scheduled workflows. If you use the Windows Vista operating system, log in with as a user with local administrative rights.
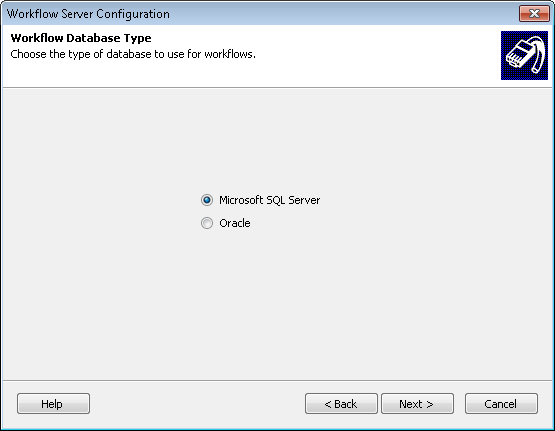
- In the Workflow Database Type step, select Microsoft SQL Server or Oracle and click Next.
- If you selected Microsoft SQL Server, specify the SQL Server and database where Workflow will store workflow data. (This database does not have to be the same database your Laserfiche repository uses.) Specify a login type for your database. If you choose to log in using Windows Authentication ensure that the server login specified in the Workflow Server Login step has permission to access the SQL Server. If you choose to specify a different login, ensure the account specified has sufficient rights to the SQL Server.
Note: During the configuration process, Workflow logs into SQL to create and configure the database. For these operations to succeed, the following SQL Server roles must be granted to the Windows user logged into the computer running the Workflow Configuration Manager: Public, DBCreator, and SecurityAdmin. (If the SQL database is created ahead of time, then DBCreator is not necessary.)
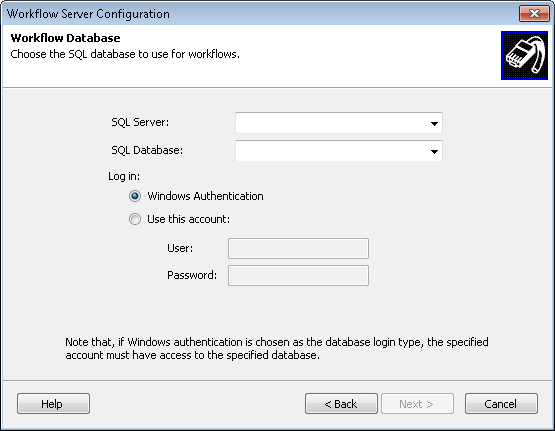
Note: The SQL server name will be different depending on the SQL instance:servername\instancename or servername.
Note: Using a database from the Workflow 8.2 Beta as your SQL database is not allowed in Workflow 9.0.
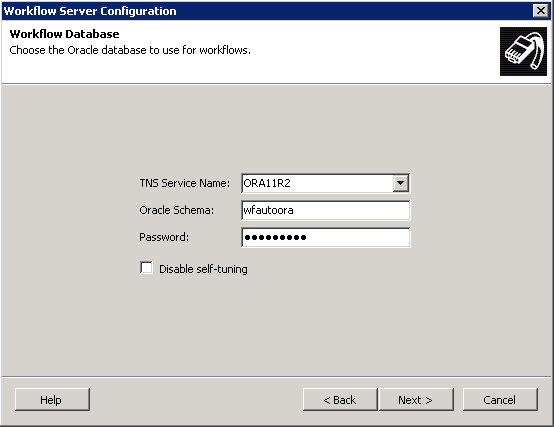
- If you selected Oracle, specify the TNS Service Name (the local name an Oracle database instance is known by on the network) and the Oracle Schema (user account) for your database. Type a password for the account. You can optionally select to Disable self-tuning for your Oracle database.
- In the Workflow Server Port step, specify the port on which the Workflow Server will run. Click Test Port to see if the port is working correctly.
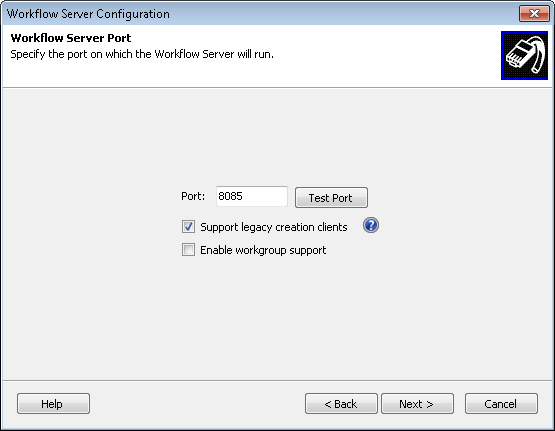
- Optional: Select Support legacy creation clients to allow products that use a legacy connection (such as Quick Fields) to create workflows in Workflow. Clear this option to allow only Workflow to create workflows.
Note: If you have Workflow 8.0 and Workflow 9.0 installed on the same machine, you will want to clear the Support legacy creation clients option so that the two versions of Workflow do not compete with each other over workflow creation requests.
- Optional: Select Enable workgroup support if you are running in a workgroup and do not have domain authentication (or are having trouble with your domain authentication). This advanced option grants the "Anonymous Logon" account access to the Windows message queues (MSMQ) that the Workflow Server needs to communicate with the Workflow Subscriber. If the subscriber is installed on a separate machine from the Workflow Server, you must select this option and the Subscriber must be logged in as a domain user to access the message queues on the Workflow Server.
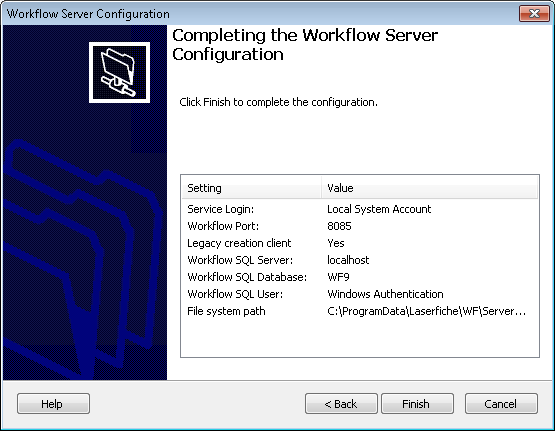
- In the Workflow Server File System step, specify where you want the Workflow Server to store files. You can use the default folder (<AllUsersProfile>\Laserfiche\WF\ServerData) or specify a different folder. Click Next.

- In the summary step, review the selected settings and click Finish. A success screen will appear if the server was successfully started.